
Gravity Sketch - Using the Crease Tool
Gravity Sketch - Using the Crease Tool
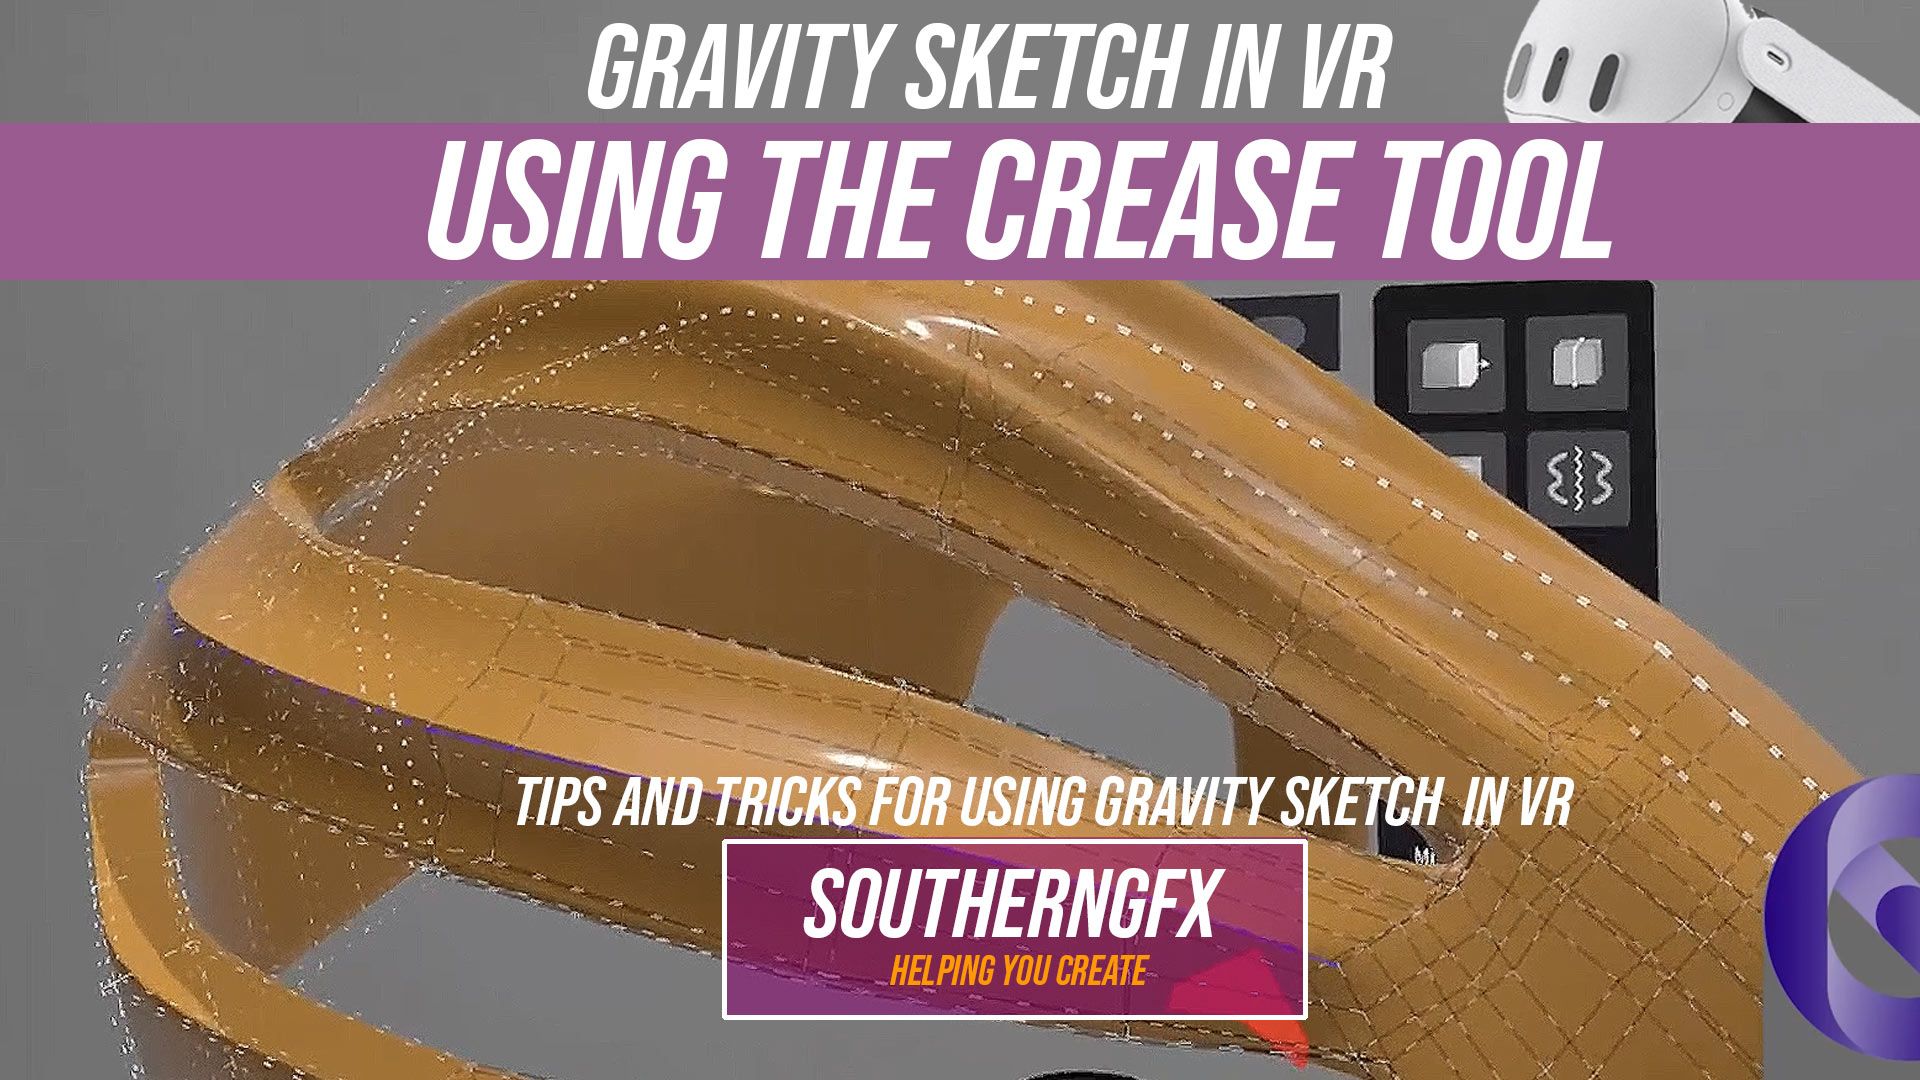
in a new series of showcasing the tools in Gravity Sketch. Today I’m showing a tool in the video that I don’t use that much in other 3D Programs and that is the crease feature. It's great in a program like gravity sketch where you want to keep the poly count down but also get really cool edges. Gravity Sketch is well known as a tool for automotive and industrial designers. It isn’t well-known as a tool for character and creature artists.
The crease tool in Gravity Sketch sits in that quiet category of features that doesn’t announce itself as revolutionary, but quickly becomes indispensable once you understand what it’s really doing.
At first glance, it feels simple: a way to sharpen an edge. But in practice, it’s doing something far more important. It’s defining intent. It tells your surface where to hold tension, where to break light, and where to transition from soft to hard. In a medium like VR, where everything begins as fluid and almost clay-like, that control is what starts to give your models authority.
When you’re building forms in Gravity Sketch—especially using SubD workflows—the default behaviour is softness. Surfaces want to relax. Edges want to round. That’s useful early on, when you’re blocking out volume and proportion, but at some point the model needs structure. This is where the crease tool comes in. It allows you to introduce precision without abandoning the flexibility of subdivision modelling.
A good way to think about it is this: the crease tool is less about making something “sharp” and more about controlling how the surface behaves under subdivision. A fully creased edge will hold tight, almost like a mechanical chamfer. A partial crease gives you something more subtle—a controlled tension that still feels organic. That range is where the real craft sits.
In practice, you start to use it almost instinctively. Hard-surface designs—vehicles, props, architectural elements—rely on it heavily. You can sketch a loose form, refine it with a few well-placed creases, and suddenly it reads as engineered rather than sculpted. But it’s just as valuable in organic work. Creature design, for example, benefits from selective creasing around eyelids, jawlines, or armour-like anatomy. It helps guide the viewer’s eye and reinforces the underlying structure without overcomplicating the topology.
What’s interesting is how it changes your mindset as a designer. Instead of constantly adding more geometry to force detail, you start thinking in terms of edge hierarchy. Which lines matter? Which edges define the silhouette, and which ones simply support it? The crease tool encourages restraint. A few deliberate decisions often carry more weight than dense, overworked meshes.
There’s also a practical side to it, especially if you’re exporting models for other workflows—whether that’s rendering in something like Cinema 4D or preparing for 3D printing. Clean, well-managed creases can reduce the need for excessive edge loops, keeping your topology lighter and easier to manage downstream.
But the real value of the crease tool isn’t technical—it’s visual. It’s about how light moves across your model. Sharp edges catch highlights differently. They create contrast, rhythm, and readability. In VR, where you’re physically moving around your design, that readability matters even more. You’re not just looking at a model—you’re experiencing it spatially.
If you ignore the crease tool, your work can feel soft, undefined, almost unfinished. Use it well, and even a simple model starts to feel intentional and designed.
It’s one of those tools that doesn’t just improve your workflow—it quietly raises the standard of everything you make.
